It’s now the…what? 14th week of January? 🤪 We’ve been slammed with snow and ice, gone crazy from school snow days, and got very lucky when a falling tree narrowly missed our garage. Playing outside lets us breathe in some fresh air, but the freezing winds off Lake Michigan also mean we live in one of those places where the air hurts your face.
Inside, where 4 humans, 2 dogs, and 1 cat live, I wish very much for open windows with summery fresh air. Until then, however, I’m doing what I can to add some nice, fresh smells around here.
I found some dried eucalyptus online and decided to use that in our master bathroom. I have fake eucalyptus in a vase by my sink, but I knew I couldn’t put the real thing there because our cat eats everything. Also, we’re low on counter space and I didn’t want to add another vase. So, I decided to hang this dried eucalyptus. The bunch I purchased came with a nice bit of twine for hanging, but I wanted something a little fancier than just a hanging bunch.
What I came up with ended up looking pretty and was SO easy to do! You could make these out of any size embroidery hoop, with as many wooden beads as you can fit. You could even paint the beads different colors if you wanted. Or you could hang the hoop with twine for a more rustic look. There are many things you could add to the steps below, but here’s the quick and easy way I did mine!
Supplies:
(As an advertising affiliate and Amazon Associate, I earn a small commission from qualifying purchases. But it doesn’t cost you anything extra and helps me keep up my site!)
- embroidery hoop (mine was the 8 inch inner ring from this set)
- wooden beads (mine were the biggest ones from this pack)
- dried eucalyptus
- hot glue

Step 1: Prep the eucalyptus and test the beads. I used the largest size beads from the pack I purchased – the 3/4 inch beads, I think. The hole size in these beads was perfect for inserting the eucalyptus stems so that they stuck tight but could still be removed if needed. I first plucked off the leaves from the bottom 2-3 inches of the eucalyptus stems. I also scraped down the places where the leaves connected to make sure the stems would fit through the bead holes. I ended up prepping all but 2 of my eucalyptus stems, because you want some extra for the last step.

Step 2: Glue wooden beads together. Taking my embroidery hoop, I tested with beads until I figured out about how many I would need. Be sure that the beads at either end sit on top of the hoop, not on the inside, so that the eucalyptus will stay straight rather than bending around the hoop. If your end beads don’t sit exactly on the hoop, all you have to do is move the beads a little up or down on the hoop, depending on your placement preference, until everything lines up right. I ended up needing 8 beads.
Keep in mind that your holes will go up and down. To be sure I glued them all together straight, I did 2 at a time. I only had to use one small dot of hot glue to stick 2 beads together, and I pressed them tight until the glue dried. Once I had all my beads paired up, I set them on my counter to make sure they’d be straight. Then I pressed more small dots of hot glue between each pair to connect them all together.

Step 3: Connect bead ends to the hoop. Next I held the strand of beads in place over my hoop and glued one end bead to the front of the hoop. Then I did the other end. Again, make sure the holes aim up and down (according to how it will hang) when attaching to the hoop. To be really sure the beads stayed on, I went all around the backsides of the end beads with glue to really secure them in place.

Step 4: Insert the eucalyptus. With my eucalyptus already prepped, it was easy to push each stem down through the bead holes. I cut a few shorter to add some depth to the look of things, now that I was arranging the eucalyptus in place.

Step 5: Glue eucalyptus to the bottom stems. Remember how I didn’t prep a few eucalyptus stems? I cut these into lengths long enough to cover the exposed, naked stems that stuck through the bottoms of the beads. It took one whole eucalyptus branch plus a little bit of the last one. These short bits I glued onto the empty stems, gently pressing to make sure they stuck. The last long bit of eucalyptus I just tucked behind the beads to fill out the the finished look.

That was it! I took the finished piece up to my bathroom, tapped in a nail where I wanted to hang it, and hung it by the hoop at the top.

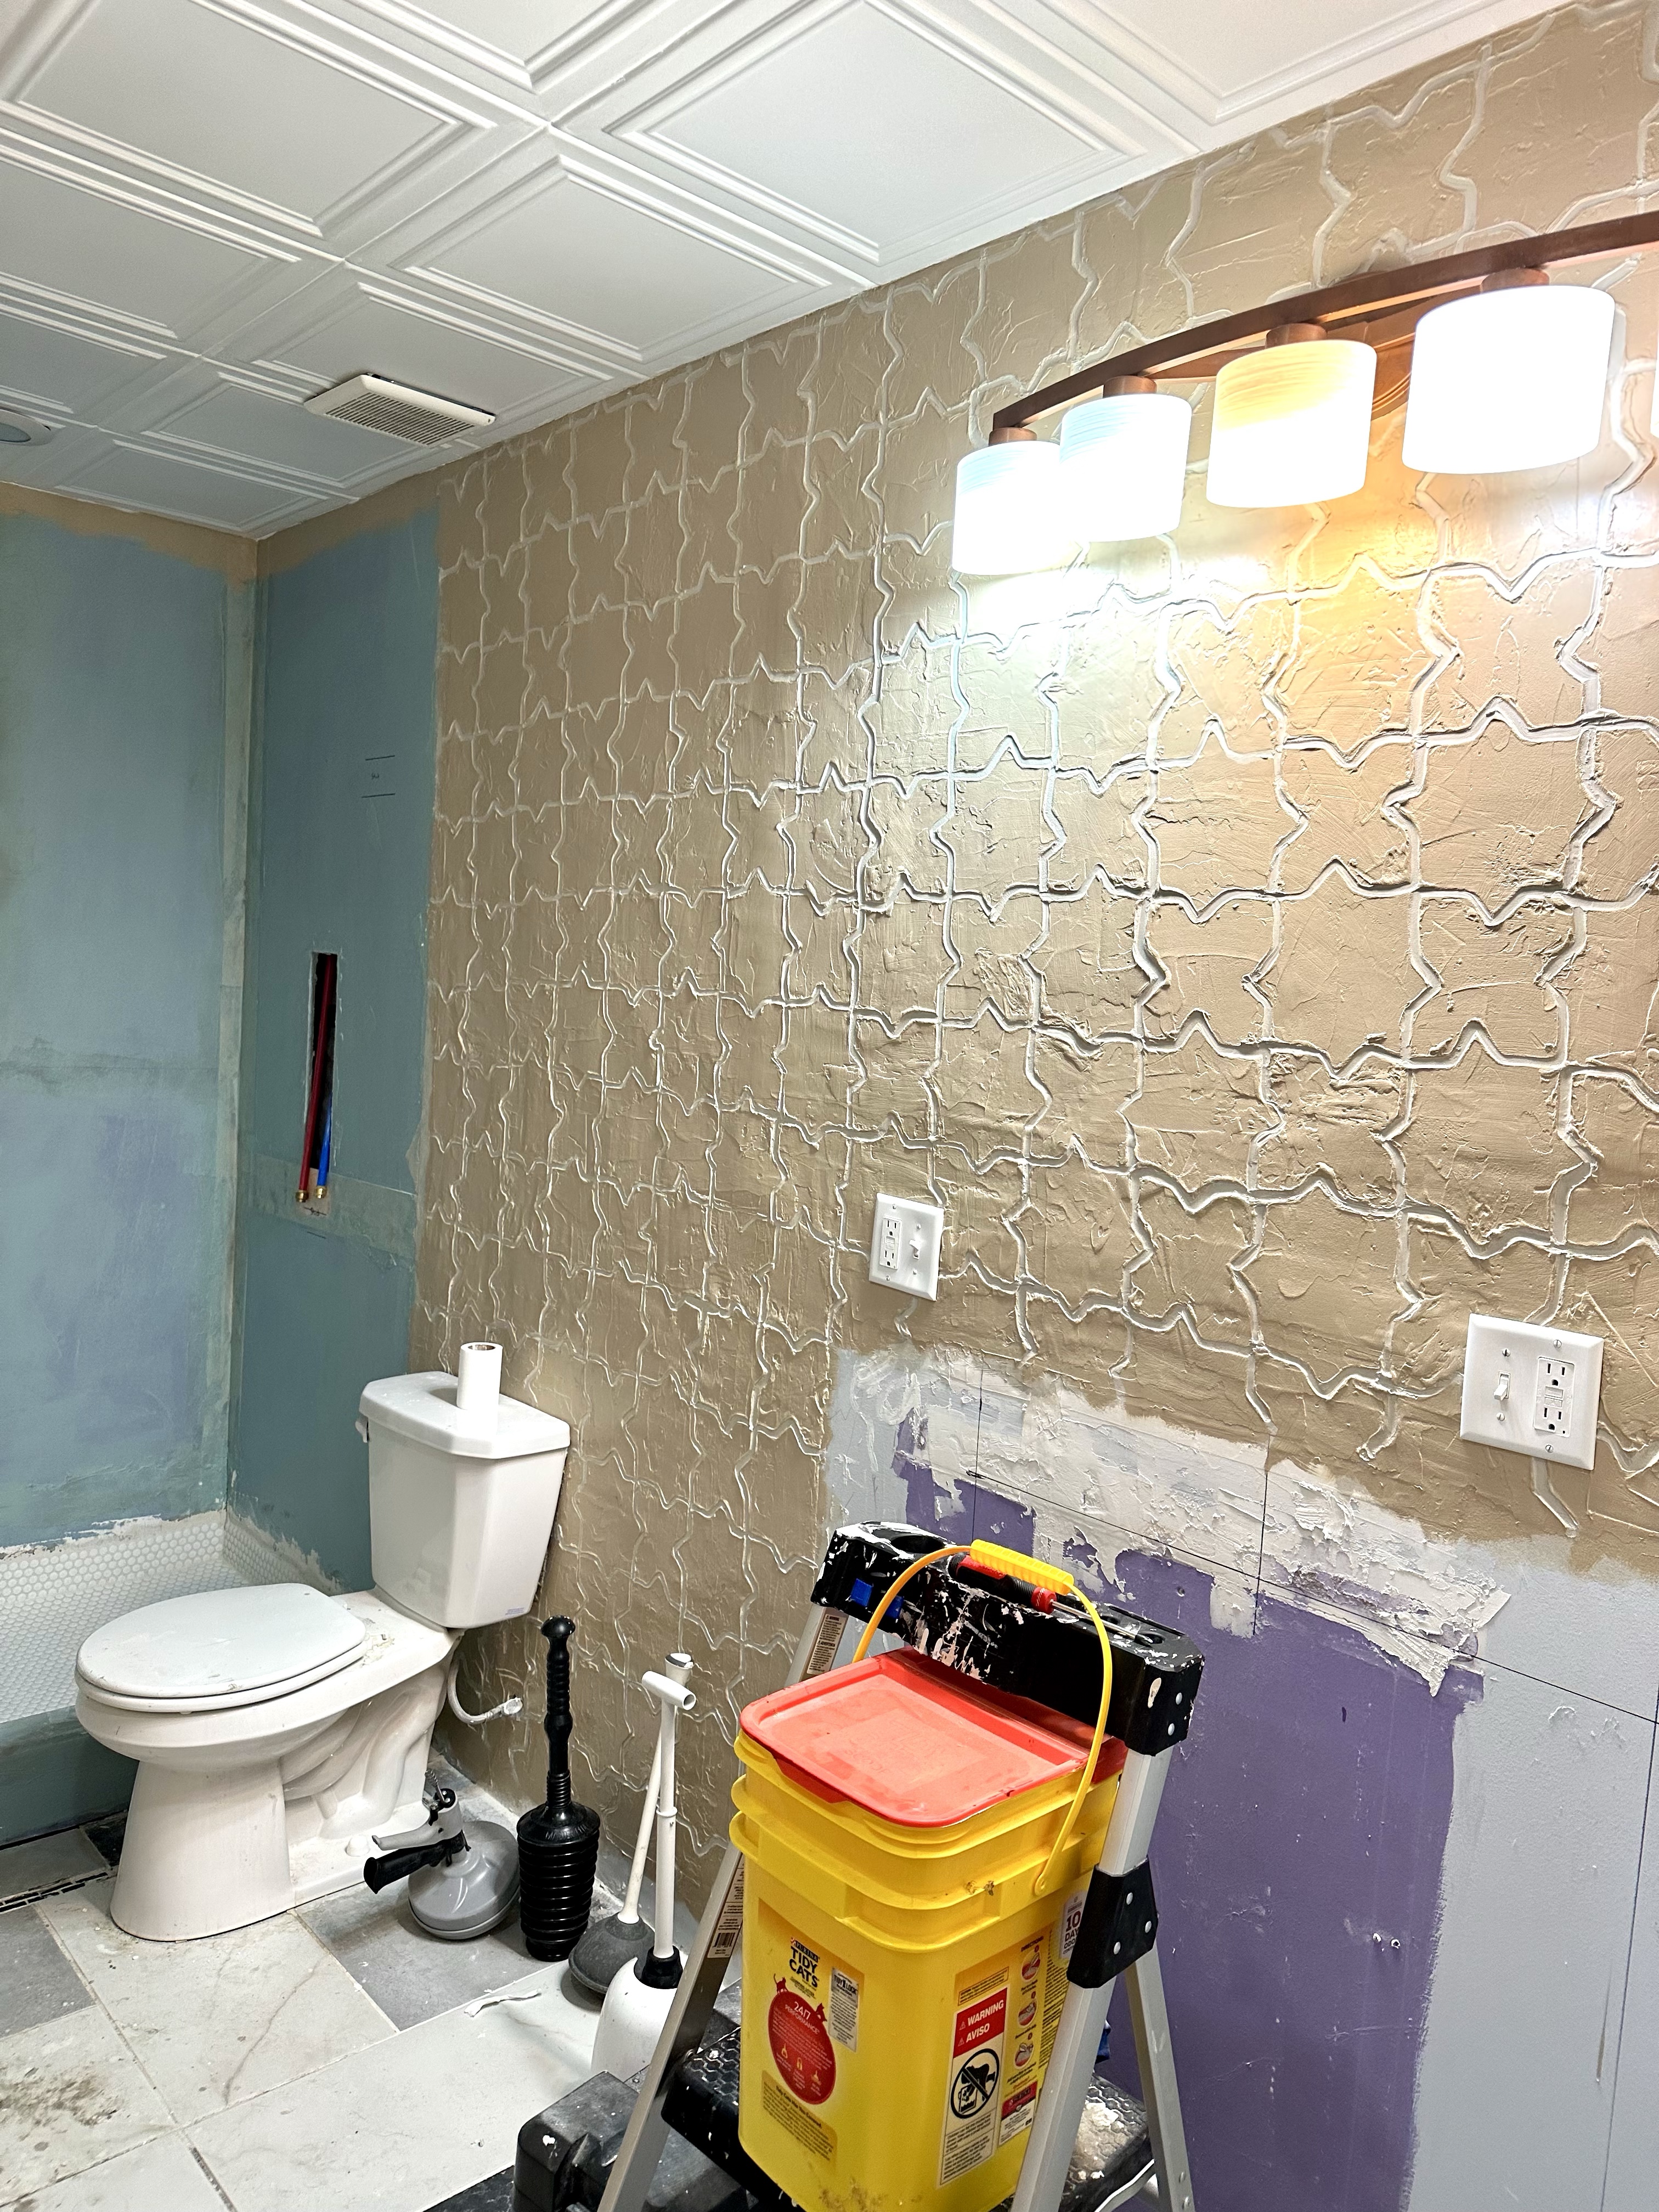
I really like how this fills in an empty space on my walls (which honestly are pretty cool on their own, and you can find that tutorial here). The eucalyptus hanger looks pretty, adds an organic touch to the room, and smells lovely!


DIY Must-Have Lists


