

Mommy needs some pretty space.
So, I decided to do something a little more grown up for the hallway art. I know enough about interior design to see how lots of smaller art pieces (like a gallery wall) would actually make this hall look smaller and more cluttered. That meant something bigger would be better. And it needed to be darker and bold to liven up the light walls. And I knew this art would need to be something safe from falling off when inevitably bumped, because this hallway is narrow and heavily used by people hurrying/running/waving toys in the air.

One answer was to use artsy wallpaper on the short wall along the bathroom, but honestly, I get sick of patterns pretty quickly and knew a whole wall of wallpaper would be too much going on. Also, I’ve done a full wall of wallpaper once in my life and hated the effort. To each their own, but it’s not worth the struggle I make it to be. 🤣
But…down in our powder room, I’d used a large wallpaper mural to create an art piece on the empty wall across from the door. This bathroom had the same issue of being narrow with walls likely to be bumped. So, I decided to do the same thing in our hallway.

Here’s how I did it!
Supplies:
(As an advertising affiliate and Amazon Associate, I earn a small commission from qualifying purchases. But it doesn’t cost you anything extra and helps me keep up my site!)
Tools:
For the bathroom, I’d found a wallpaper mural that I liked on Etsy that was a single sheet. It was LARGE but not too difficult to manage. If you want to avoid the difficulty of lining up more than one strip of wallpaper, a single sheet is a good option. However, for the hall, I thought I’d try a mural in the more typical wallpaper style to see how that worked. It was definitely easier to manage these smaller strips by myself, and lining up the edges wasn’t was bad as I feared – certainly easier to do a mural of 2 strips than an entire wall of several strips.
Full disclosure… I designed the wallpaper mural that I ended up using for the hallway. It’s available in my store, and I created a few while I was deciding which to pick! The quality of this wallpaper is REALLY good, and it was delivered fast once I finally chose one. The size I made was 36×48, so it comes in 2 strips that are easy to line up and look seamless. Overall, using this wallpaper style was easier then the single sheet I’d purchased for the bathroom, and it was thicker and had better material/adhesion too.
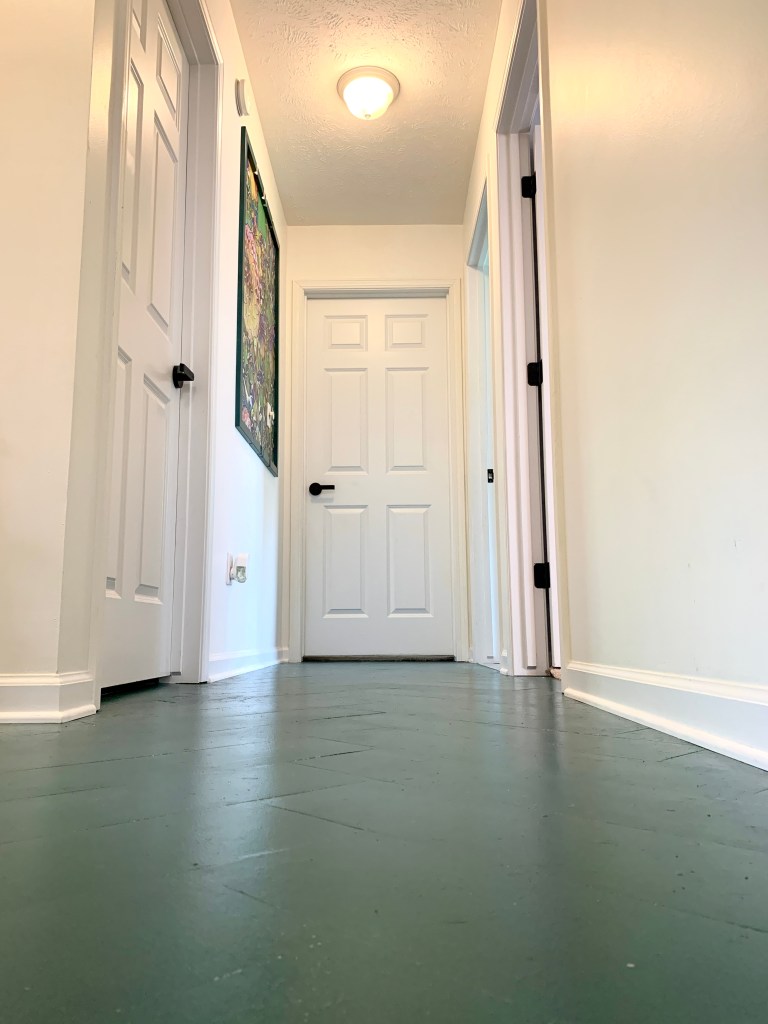
Step 1: Plan and outline where to hang the art. The big empty space on the hallway wall across from the office door was begging for attention. I’d thrown a canvas on the wall for a quick fix (see photo above), but this proved to my eye that this space needed something BIG. That’s why I went with the 36×48 size. A smoke alarm and light switch in the middle of the space complicated my plan a bit, but I decided to make the light switch look like it was purposefully a part of the art space. (Why would builders put it there? Oh, this house’s quirks…)
Once I had this idea planned in my head, I used a tape measure and a level to outline where the mural would go. The most important thing is to get a straight line along the top so you can hang the strips evenly and be sure your whole art piece will be level.

Step 2: Hang the wallpaper. I cut the first strip of the mural from the roll, peeled back a part along the top, and used a stool to reach my top line. Starting at the corner. I gently pressed the wallpaper straight along the top line to make sure it was secure and level. Then I worked my way down and carefully peeled back more of the backing, pressed down the wallpaper to attach it, and smoothed out to the edges as I went. By the time I pulled the last of the backing off at the bottom, the whole strip was smooth and stuck.

For the second strip, I lined up the top corner where it needed to be tight against my first strip, plus level with my top line. I figured it was most important to be tight against my first strip all the way down, so I peeled the backing along this side and attached it here first. This allowed me to be sure there was no gap/seam line between my strips. Once that was set, I peeled the backing and attached the rest of the way out to the far side.
For around the light switch hole, I simply used scissors and cut a rectangle where the opening needed to be once I’d peeled the paper down to this point. Then I finished sticking the paper down and around this gap. I put the plate back on right away to be sure, and it looked great. You could measure and cut first, but I didn’t trust myself. This worked simply enough.

Again, this whole application process was easier with thin strips than it had been with a single sheet. I had far fewer air pockets too, because there was less I had to work with at a time.
Step 3: Cut 1x2s as a frame. I wanted to do something a little funky with my frame, plus quite frankly I was trying to figure out how to use scrap pieces without having to buy more. LOL. If you want to do a normal frame, simply cut 2 pieces that are a little longer than 36 inches and 2 pieces that are a little over 48 inches, then cut the ends at 45 degrees to make a rectangle frame that will fit over the edges of your mural. (Cutting then slightly longer gives you some wiggle room on placement and let’s you overlap the wallpaper edges for protection.) For my funky frame, however, I used several shorter pieces, cut the ends to create angles, and put it all together like a puzzle to make a cool, detailed frame.
First I laid out what I had to work with on my garage floor. I decided to make the 48-inch sides out of longer sections, and for the 36-inch sides I cut a lot more for detail. Whatever design you make, just be sure to cut at least 2 of each, equal numbers for each side.

I cut all my pieces to the lengths I wanted first, then I turned my miter saw to 30 degrees and cut from the tops to the edge to make angled pieces.

Step 4: Paint the 1x2s. I had my little helpers do the first coat…then I touched it up quickly. I did 2 coats and let dry. To make this tie into the new door color, I used the same paint! It looks really sharp all together.

Step 5: Attach the 1x2s. Once dry, the frame was ready to assemble on the wall. I took all the pieces upstairs and laid them out in the order I wanted. To be sure nothing was off, I used a level on each piece, placing the wood evenly over the edges of my wallpaper. Then I held one piece of wood in place at a time and used my brad gun to nail in the pieces.

Step 6: Putty and paint nail holes. The last step was to use nail hole filler/putty and paint to smooth out the frame. The filler I tend to use is ready to paint immediately, so this step took about 10 minutes. I was told, however, that I needed a fancy hat if doing this on camera, so finding the right hat took an extra few minutes.

That was it! Incredibly simple (made only slightly complicated by my detailed frame), big, framed art that won’t fall off the wall!


DIY Must-Have Lists


