
But it was a crammed mess and not exactly organized. Plus, those wire shelving units leave bottles wobbling and tipping all over each other. Every time I had to grab cleaning supplies, my brain would do a little “Uuuuugh!” and I’d quickly shut the door in hopes of forgetting about it. And one time, a bottle cracked and leaked fluids all over the toilet paper stored below. 😬 Basically, the storage “system” in our linen closet was not working.
Until today, when I snapped and decided I was going to fix this situation. I’ve seen many blogs where people cut wood to fit right over the metal shelves, and I do like the look of them. However, I decided to take that idea a step further and customize organizers right into the shelf I needed for cleaning supplies.
Supplies:
(As an advertising affiliate and Amazon Associate, I earn a small commission from qualifying purchases. But it doesn’t cost you anything extra and helps me keep up my site!)
- Wood boards – a 4×4 ft sheet should be plenty
- sandpaper
- paint
- brad nails
- paper towel holder and/or hooks
Step 1: Measure and cut wood pieces. The existing metal shelves of my linen closet are 29.5 inches long and about 12 inches deep. I decided to add a little extra depth so I could be sure a front piece would fit over the front of the metal shelf, and so I planned for 12.5 inches to be safe.

Using scrap wood in my garage, I used a T-square to mark a rectangle for my 29.5 x 12.5 inch base. This I cut with my table saw. That was it for the base.
Then I used that same wood (you could use other wood) and cut a back piece and front piece at the same length of 29.5 inches. The front piece I made 2.5 inches, since it’s just for show and only needs to be tall enough to cover the metal shelf’s front. The back piece I made a bit taller at 3.5 inches, just for the sake of catching stuff from hitting the back wall.
Setting that back piece on top of the base, I measured and found I had 12 inches to the front edge now. So, all my dividers needed to be 12 inches if running from back to front. I cut a section of the rest of my wood at 12 inches, and then I decided how to split that up.
First I tackled my side pieces. I decided to make one side the same height as my back piece, or 3.5 inches. Taking that 12-inch long board, I cut off a 3.5 inch piece. For the other side, I wanted a taller end so that tippy bottles and containers would have something to rest on and not fall over. I ended up cutting a piece at 9 inches for that side.
Next, for my interior dividers, I cut another piece at 9 inches to go by my tall end and pin in those tippy containers. Then I cut 3 more pieces at 3.5 inches to act as dividers that would be even with my back and other side. (I changed my plan later to make 1 piece run length-wide just to give me a different space for storing short things like sponges right up front.)

Step 2: Sand and paint. With all my pieces cut, I took some sandpaper and rubbed down all the edges to get smoother corners. I also really sanded down the front top corners of my divider pieces so they would be gentler on reaching hands.
Once the corners were smooth, I took all the boards down to my workshop and rolled on some leftover white paint. My wood was already primed, so I only needed one coat. How well you paint these pieces depends on your wood, but I was happy enough with the results after one coat.

Side note: I didn’t bother to paint the underside of my base since it would sit on a low shelf. If you’re putting yours higher, it might look nicer to paint the underside too.
I gave everything a few hours to dry.
Step 3: Test fit and assemble. Knowing my luck, I took all my pieces up to my linen closet and tested to be sure it would fit. Since I could lift up the metal shelf over the shelf in question, that really helped with wiggle room. I found that my base board fit perfectly, and so did my end pieces.
Taking it all out again, I set my pieces on the floor and carefully nailed them on one-by-one. Using brad (my trusty nail gun), I nailed on the back piece first.

Then I did my tall side, making sure it stayed square. Next I did the other tall divider piece, again keeping it square while nailing it into the back piece and the base.

For the exact spacing of my other dividers, I grabbed a few containers and my widest spray bottle to make sure these dividers would be spaced just right.

Once I was happy with the spacing, I took the divider piece that would go lengthwise and nailed that into the divider it would intersect with like a “T”. If I’d waited to do that last, once my other dividers were in, I wouldn’t have been able to get the nail gun in there. So, keep in mind that the order of attaching your dividers might be important! Lastly, I nailed on that connecting divider and the last divider according to my predetermined spacing.
Step 4: Place the organizer and attach the front piece. I wasn’t sure if the front piece would become an obstacle when placing this whole thing into the closet, so I waited to put that on until the organizer was in place on the shelf. I positioned this front piece so that it stuck up slightly above the base board like a little ledge. Mostly eyeballing it but also checking with a level, I held it in position and nailed it into the base, using only a few nails at each end and in the middle.

Step 5: Finishing touches! I needed to touch up my paint in a few places (I’d stuck on the back board backwards 🤦♀️), plus I wanted to fill my nail holes along the front.
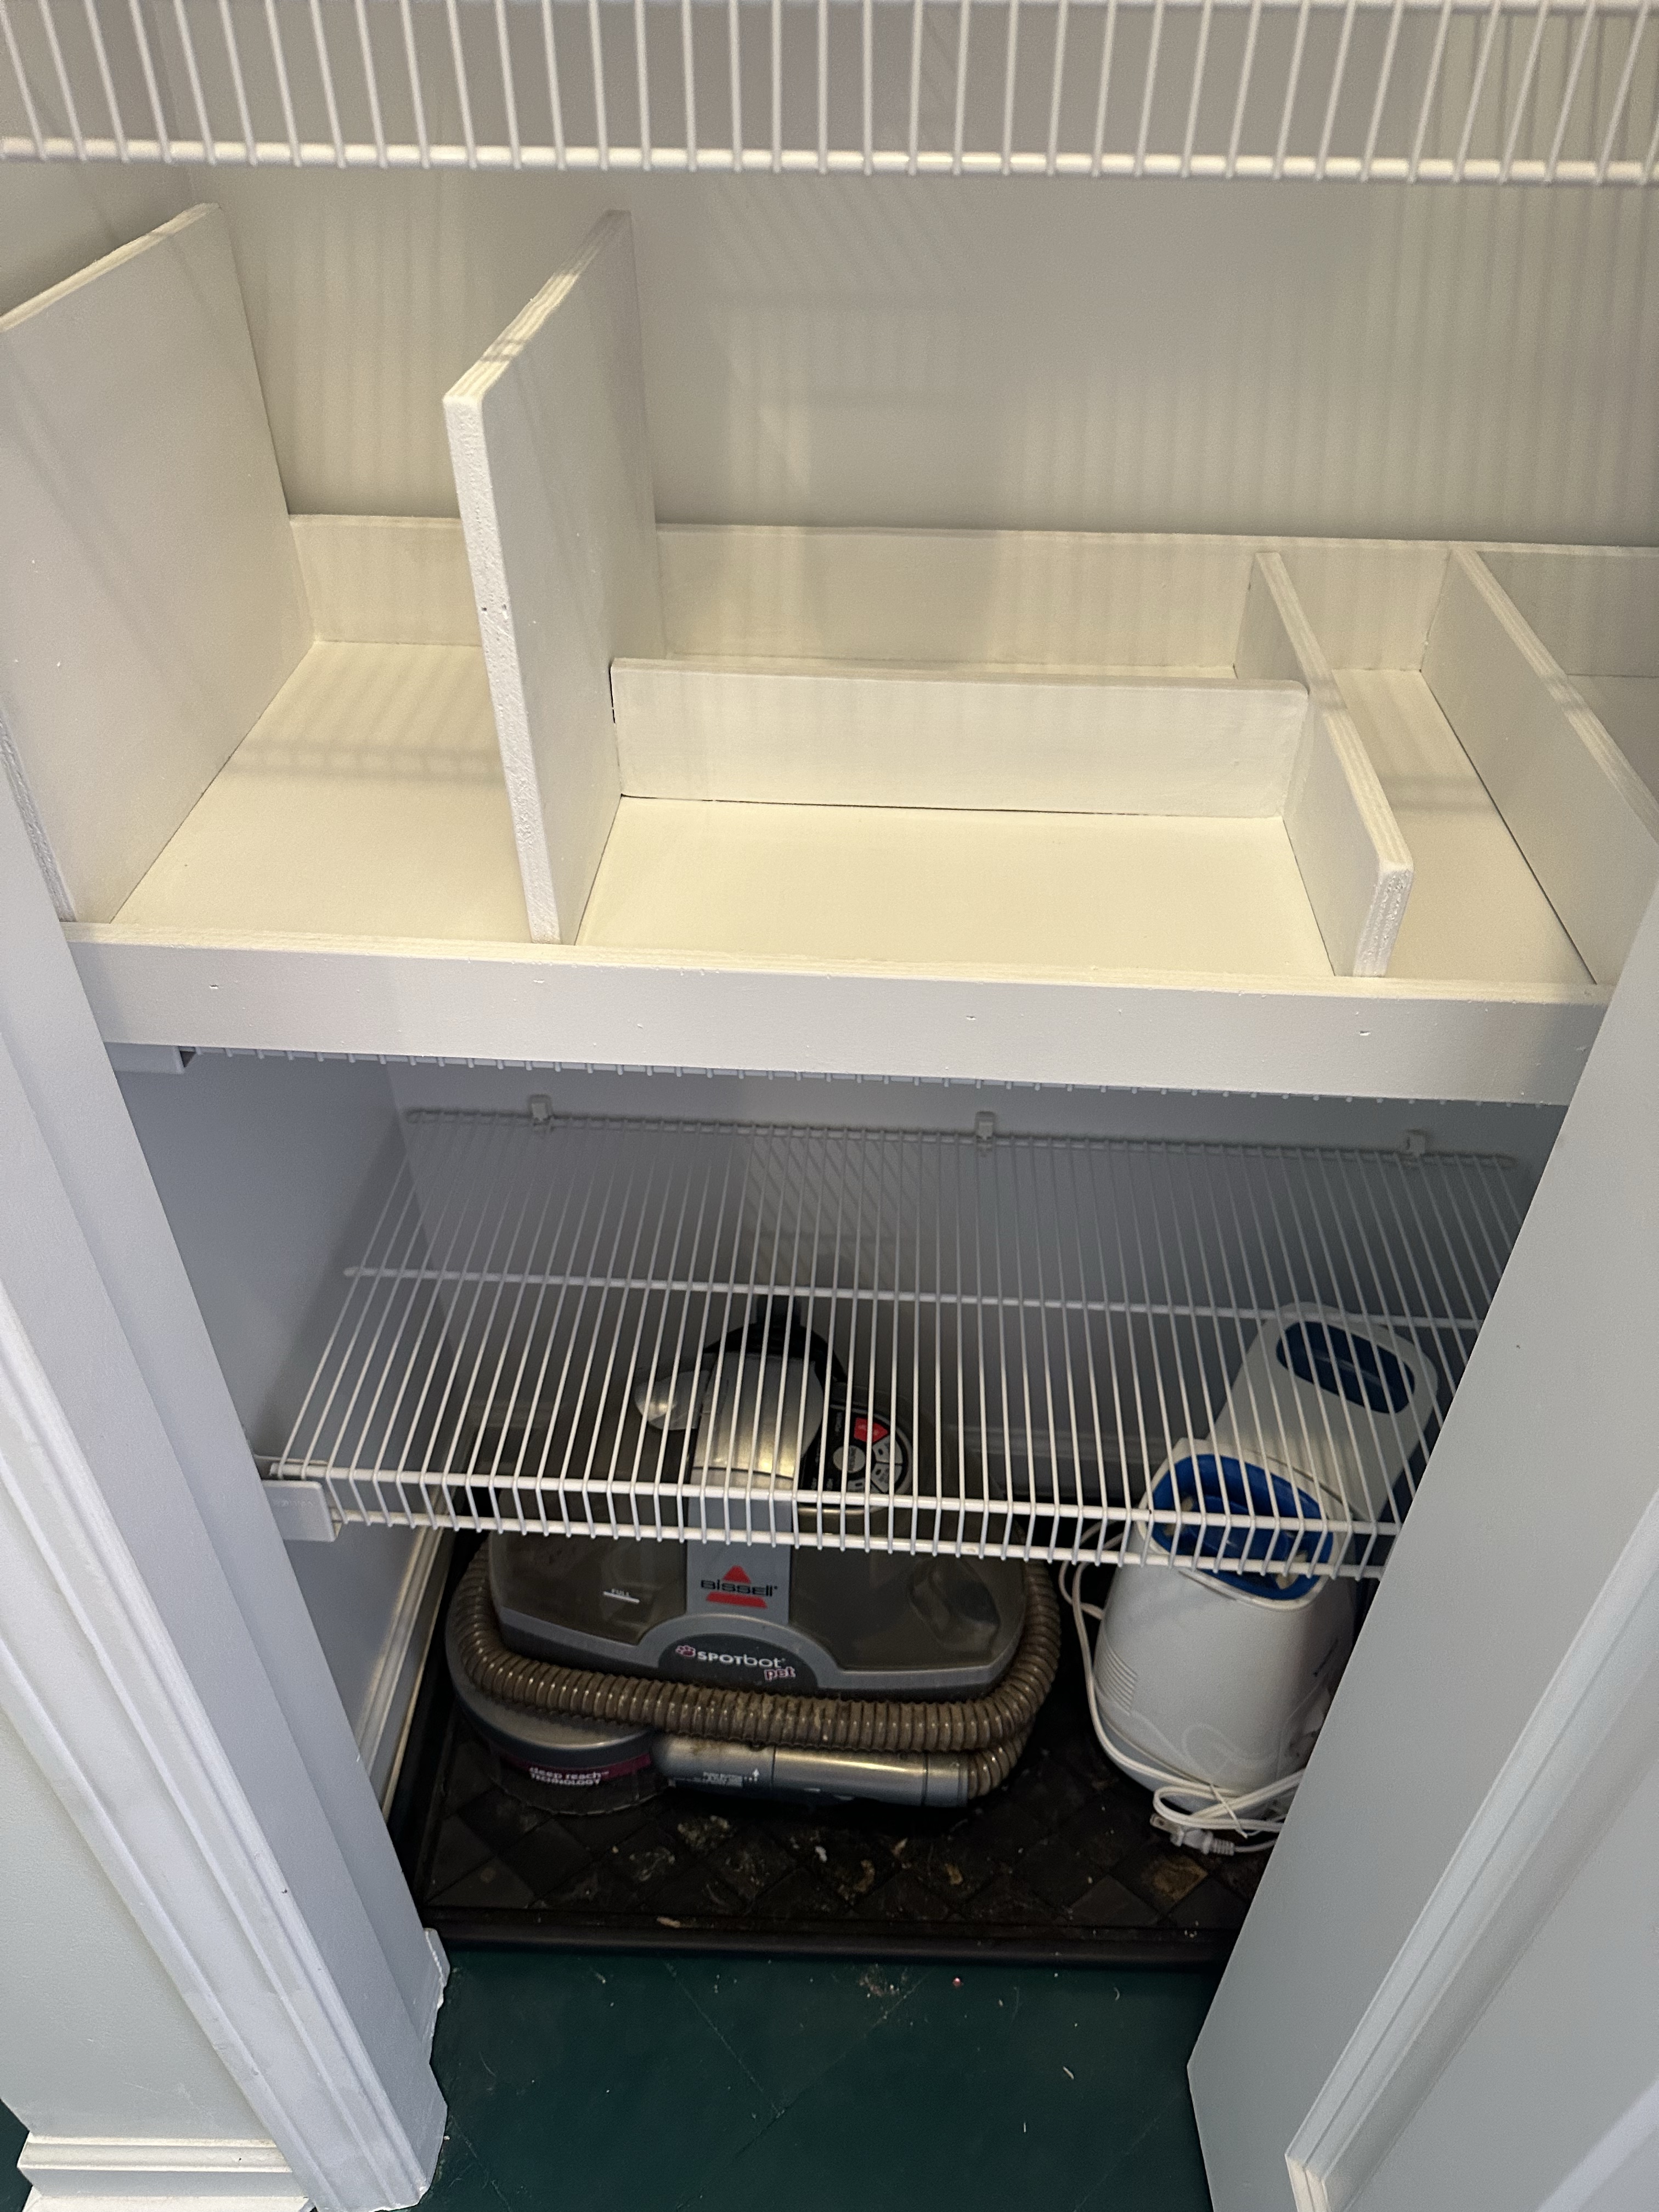
I also added a little hook on the front piece so I could hang my duster out of the way. And, on the wire shelf’s front under the wood organizer, I stuck on a paper towel holder. This was one designed for a pegboard, but the spacing was perfect to fit tight between the metal spindles. If you wanted to use a different kind of paper towel holder, you could stick that right on the wooden front too.

That was it! It looks so much better and is easier to keep our cleaning supplies organized. Simply folding the blankets looks 10x better too, of course, 😜 but the organizer really saves the day!

I also may have given myself ideas to replace the bifold door… Stay tuned. 😜
DIY Must-Have Lists


