How do we still need more shoe storage?! I couldn’t take it anymore, and the constant pile of shoes by our garage door had to go. But this is obviously the best spot to have shoes, so we needed another shoe rack right by the door for all my girls’ shoes.
Cue the old, falling apart, outdoor table that I’ve ignored all summer.

Supplies:
(As an advertising affiliate and Amazon Associate, I earn a small commission from qualifying purchases. But it doesn’t cost you anything extra and helps me keep up my site!)
- 1x3s (for shelf slats, so amount depends on length you want)
- 1x2s (for shelf supports and front piece)
- 2x3s (for legs, so amount depends on the height you want)
- Wood stain or paint
Tools:
- Jigsaw
- Brad gun and nails (or small nails or screws)
- Screwdriver/drill
- Miter saw
Step 1: Take apart the table. I’m going to assume not everyone has an old IKEA table lying around for this project, but if you do, 👍. If not, the wood is basically a bunch of 1x3s, 2x3s, and 1x2s, so that’s how I’ll give instructions for assembly. But if you’ve got an old table made of slats like this, take that puppy apart and use the wood if it’s salvageable!
First, I removed all the hardware connecting the table legs, sides, etc. All of the top and hinged side sections were in good shape, so I did not take apart the slat sections – that’s what I was hoping for! The rest of the table parts like the legs and surrounding pieces came off pretty easily, and gravity helped.
Once apart, I carried all the pieces up to my garage.

Step 2: Cut pieces. I decided 8 inches wide was perfect for storing my girls’ shoes without sticking out too far into the narrow hall area. It just so happened that 3 slats equaled 8 inches, so I used a jigsaw and cut the ends to free up the first 3 slats and the ends connecting them. I did this for 4 sections that would become my 4 shelves.

If you’re using wood pieces and not a table, you can use 3 long 1x3s for slats and shorter, 8-inch pieces of 1x3s for each end. These could be attached by screwing holes on each piece where they connect, then using pegs and glue. That would give you the same thing as what I cut free – slats connected by end pieces.
Along with these sections for the shelves, you want 2x3s for each leg of the shoe rack. I used the front and back surround pieces that I’d taken off the table, so mine had character-adding screw holes to display. 😆 I wanted my legs to be 25.25 inches tall, as this would allow me to get 4 legs out of the 2 pieces of wood I was using. (This was also the perfect height to allow my girls’ backpacks to hang over the shoe rack.)

Next, I needed little support pieces to attach to the legs where the shelves would rest and attach. The table had had 1×2 pieces of wood running under the tabletop for support, and these were perfect, so you can use 1x2s for sure. Since my shelves were 8 inches wide, I went with 6-inch little pieces so the shelves would hang over them to hide these supports. I needed 2 of these for each shelf – one for each end of each shelf – so 8 total for my 4 shelves.
Also, I needed 2 more 1×2 pieces for each end of my top shelf to add length and cover the tops of the legs. These needed to be 8 inches, just like the ends of my 8-inch wide shelf.
With all these pieces cut, I sanded everything lightly and wiped them clean.

You might notice from the picture that I had 2 little scrap pieces. I used these to help me figure out exactly how high the shelves would sit on top of my support pieces before deciding on the supports’ placement.
(FYI: There will be 2 more wood pieces to cut, but I’d wait until later to be sure of your measurements.)
Step 3: Attach supports to legs. I wanted the lowest shelf to be right at the bottom so things won’t get lost on the floor under it. This also made things easy as far as positioning.
Lining up 2 of my 2×3 legs, I made sure they were less than 8 inches apart, since this would let the shelves stick out a bit farther to cover some edges. I went with 7.25 inches apart.
With the legs lying square and 7.25 inches apart, I lined up one of my 1×2 support pieces at the very bottom of what would become the inside side of the table legs. You could use little nails or screws, but I used my nail gun and shot in 2 nails at each end of the little support 1×2.
Once that bottom support was attached, I did the same at the very top.

Then, because I wanted the bottom shelf to fit rain boots, I literally held a rain boot in the space over that bottom support – with my little scrap piece mimicking where the shelf would sit – to find where I should position the next shelf up. With that figured out, I attached a 1×2 support piece in that spot. That left one more support for a shelf, so I positioned it where it looked right and nailed on that one too.
With that one side/set of legs done, I took the other 2 table legs and positioned everything exactly the same so everything would be level and equal on either side of the shoe rack.
Step 4: Attach the shelves. Starting at the bottom for stability, I held up one side (2 legs with supports) and set one of my 8-inch wide shelves on that bottom support. I lined it up so that the back of the shelf was exactly lined up with the back of the back leg, and the front of the shelf hung over the support and past the front of the front leg a little bit. Then I nailed down through the shelf into the support it rested on.

After repeating this on the other side, I had my bottom shelf connected to both sides/sets of legs.
I did this again for the next shelf up, then the next, and finally the top shelf piece. Each time, I made sure to keep things square by holding the shelf tight against the table legs (sides) when I nailed them on.

Step 5: Add additional pieces. Because I wanted nothing getting lost under the shoe rack, I used another 1×2 to run across the very bottom, under the overhanging bottom shelf, to cover the front of the rack at the bottom. This I cut to 23.5 inches long so that it fit inside, between the legs. I attached this front piece by nailing it into the ends of the bottom support pieces. I did lay the rack down with the front side up to make this easier.

While I was at it and had the bottom of the rack exposed, I added some screws through my bottom supports into my legs, just to help out my little nails.
Standing the rack back up again, I took my two 8-inch 1x2s and positioned them over the tops of the legs, making sure they sat flush with the ends of my top shelf. I attached these by nailing down through the pieces into the tops of the legs. I was worried this might look weird, but because of all the slats going on – and running in different directions – it looks like added detail that belongs.

Lastly, I added a crosspiece to the back of the rack to help with stability. I figured out the angle of my cuts by holding the 1×2 in place and then marking lines with a pencil. Once it was marked, I used my miter saw to cut along the lines. I attached the back by nailing each end onto the back of the legs. I like the rustic detail this gives, plus you can’t really see it from the front once shoes are there.

Step 6: Stain or Paint. My wood already had stain…in places. Rather than sanding it all off, I embraced the rugged look this would add. Taking a rag dipped in darker stain, I wiped stain over the whole thing. This gave a really cool, aged effect to the wood where the stain took differently to the stained and unstained wood.
You could paint your rack, obviously. That would look nice too, though I’d suggest a darker color to help hide dirt from the shoes.
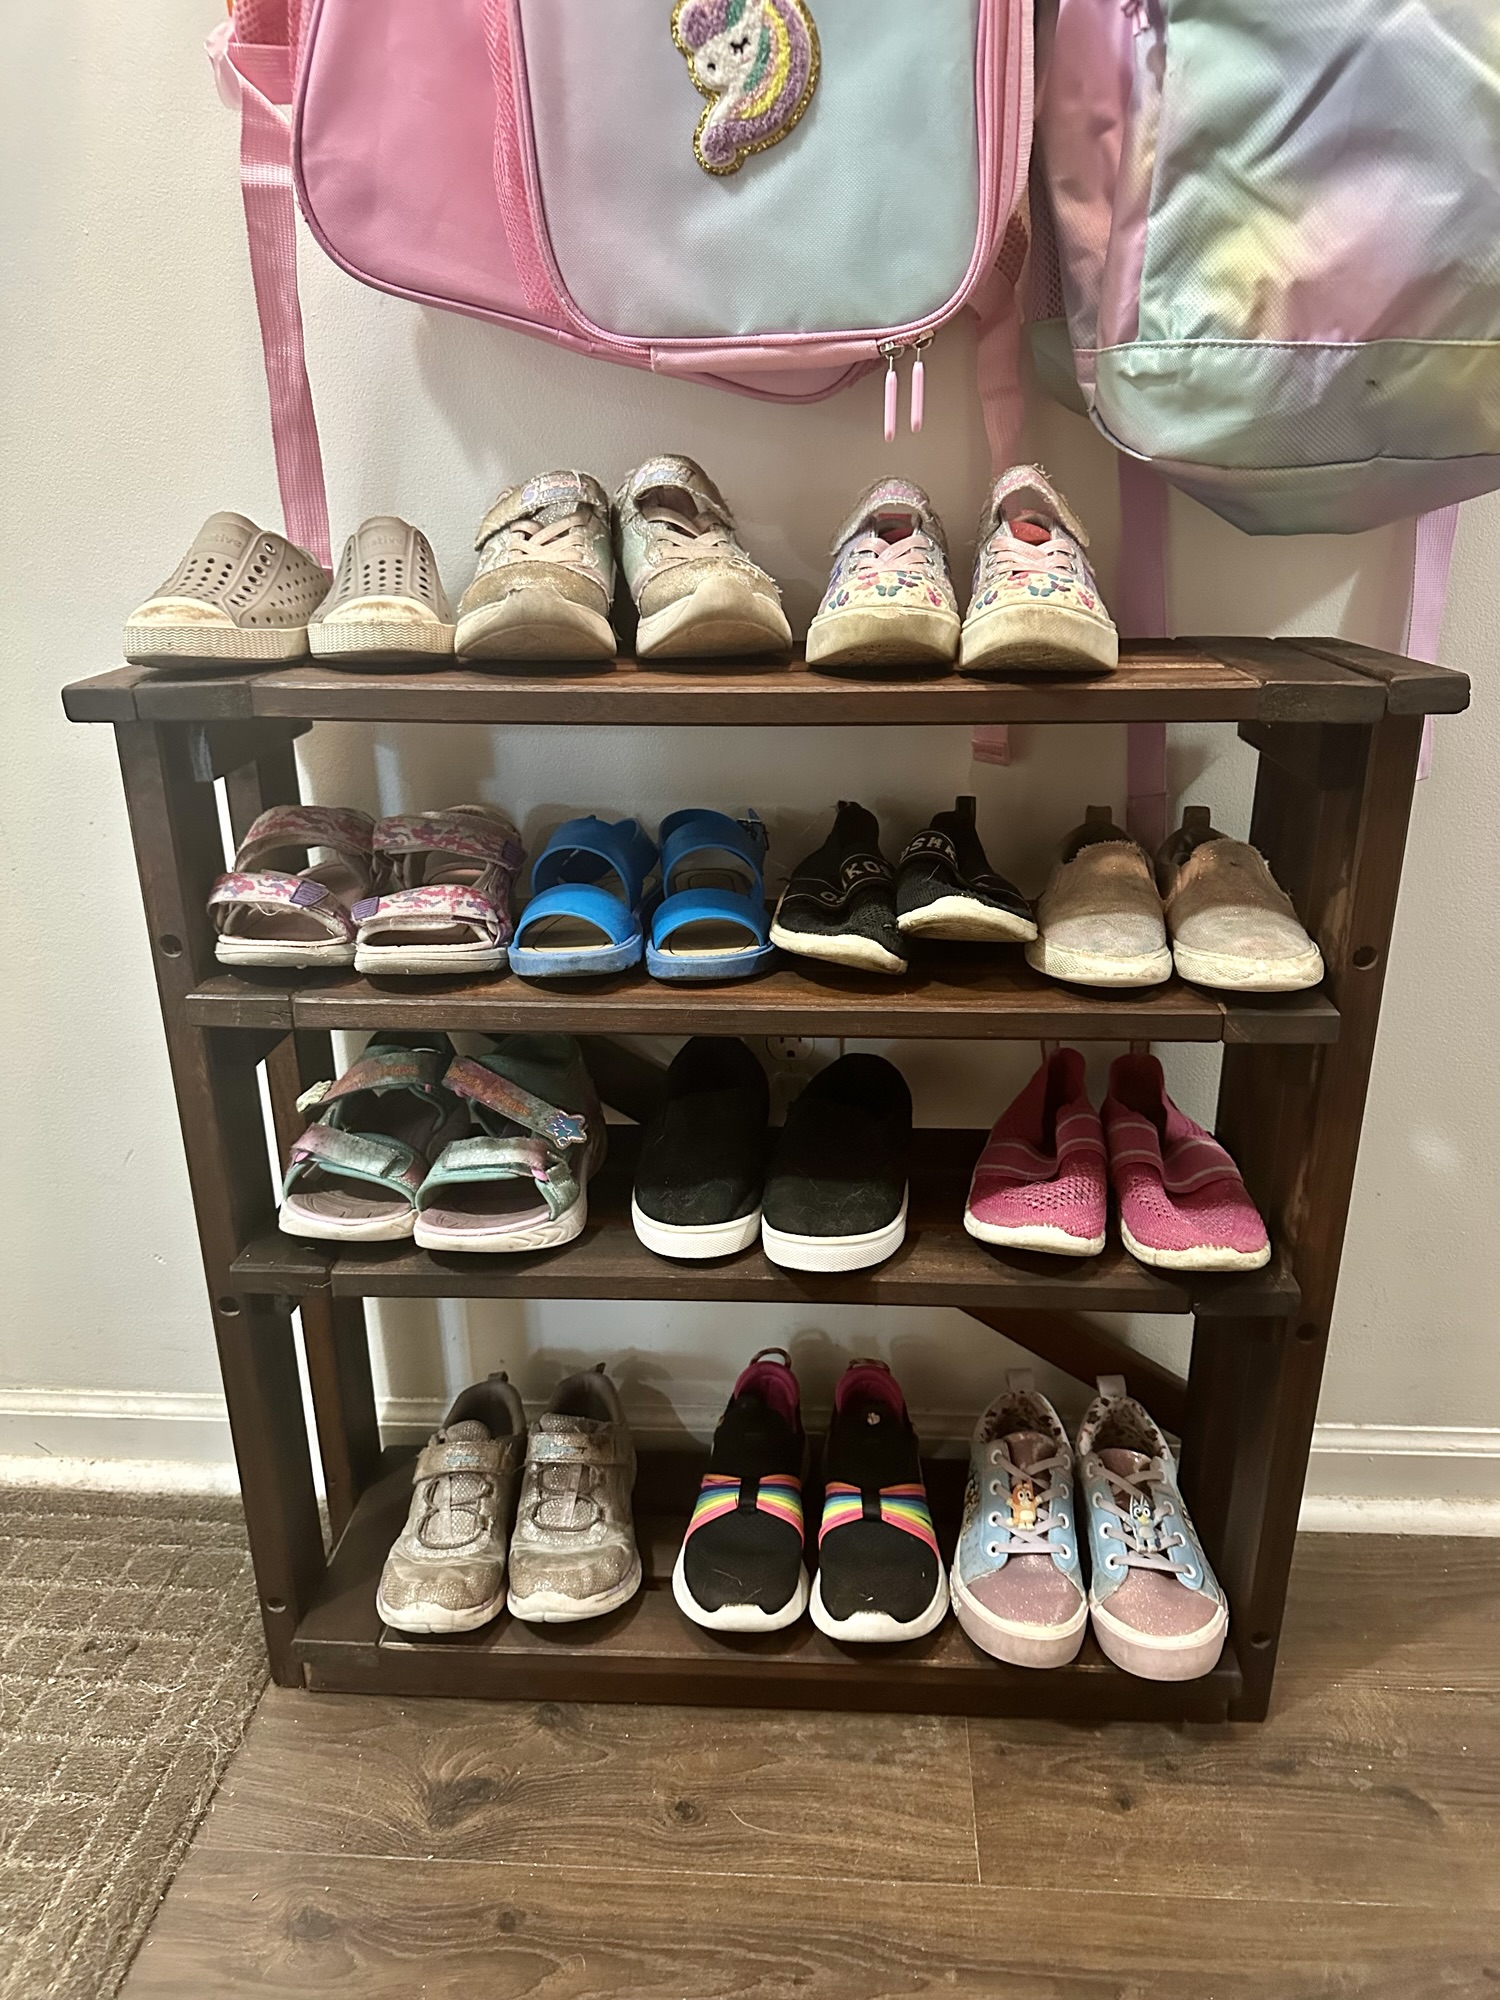
Step 7: Set in place and add shoes! The rack fit great in the space – not too big, not too small. I really like how rustic but detailed it looks because of the slats and old screw holes and such. It looks old but in the right way now. 😂 And, most importantly, the girls’ shoes aren’t in a pile!


DIY Must-Have Lists


