A looooong time ago, I came up with a way to decorate my pantry’s glass cabinet doors so that they looked kind of like stained glass — temporarily. They’ve been like this for so long that I knew I liked the design, so I decided to make it more permanent. The old method (See my post “Faux Stained Glass for Windows or Cabinet Doors”) was done by painting Saran Wrap and then taping that to the backside of the glass door. But now, I’d paint directly on the glass. This is a much better look if you decide you want it to be permanent, because it eliminated the plastic crinkles of the Saran Wrap that you can see from the front.

I put this off for so long largely because I thought I’d have to take the doors down in order to paint them for real, but after painting vases vertically (see how I did that at “Faux Stained Glass Vase”), I realized the liquid leading didn’t drip like I’d thought it would! This meant I could leave the doors in place and just paint them as they were. I didn’t even have to empty the cupboards at all. Phew!!
Supplies:
(As an advertising affiliate and Amazon Associate, I earn a small commission from qualifying purchases. But it doesn’t cost you anything extra and helps me keep up my site!)
- Simulated liquid leading
- Glass paint
- craft brush
Step 1: Clean the glass. It was very easy to remove the painted Saran Wrap that I’d taped to the inside of the cabinet door, so again I can safely recommend that method if you just want something temporary. Once those sections of wrap were off, I gave the inside of the cabinet doors a quick wipe, but they weren’t that bad. Just be sure that you remember you’re doing this on the INSIDE of the glass doors…though I suppose you might as well feel productive and clean the outside too.
If you’re doing this on real windows (and I’m already looking around my house for options 😜) then you definitely want to give them a good quick wash with Windex or whatever. You don’t want a bunch of dust stuck on the glass while you paint. And remember, this will only work on the INSIDE of the windows, because you don’t want the paint getting ruined by the elements outside.
Step 2: Draw outlines with liquid leading. Again, it’s probably best to do this on the inside of the glass doors, so as to keep your work safer from everyday handling of the doors. So, you’ll want to open the doors and work on that side.

For my vases, I’d painted with the colored glass paints first, but here it seemed smarter to make my outlines first. That way, the black would show up best on the front side of the doors, and the color could slob a little on the black without showing from that side.
Anyway, I tried to make the stems and leaves look like what I’d done temporarily on the Saran Wrap before, since I’d liked that design so much. It helped a lot to stand on a chair so my arm didn’t get tired, but it didn’t take me too long to draw my design with the liquid leading. As with my vases, it didn’t drip, I could wipe it off quickly if I messed up, and it was easy to apply by squeezing out lines as I went.
I did try to get as close to the edges as I could, and it helped that my doors had those black divider sections on the front, so I could go behind those a bit without it being noticeable from the front.


I gave this several hours to dry, just to be sure it wouldn’t wipe away as I used my brush while painting with the colors.
Step 3: Paint with colors! I’d run out of the dark green (Viridian, from my set) that I’d used earlier on the Saran Wrap, but it was easy enough to use the light green first and then add a bit of Cerulean blue to make green leaves – blending these paints looks really pretty when light goes through. I squeezed out a quarter-sized amount of paint at a time and used a small craft brush to paint inside the leaf outlines, not worrying if it got over the black since that would not be visible from the front side of the glass.

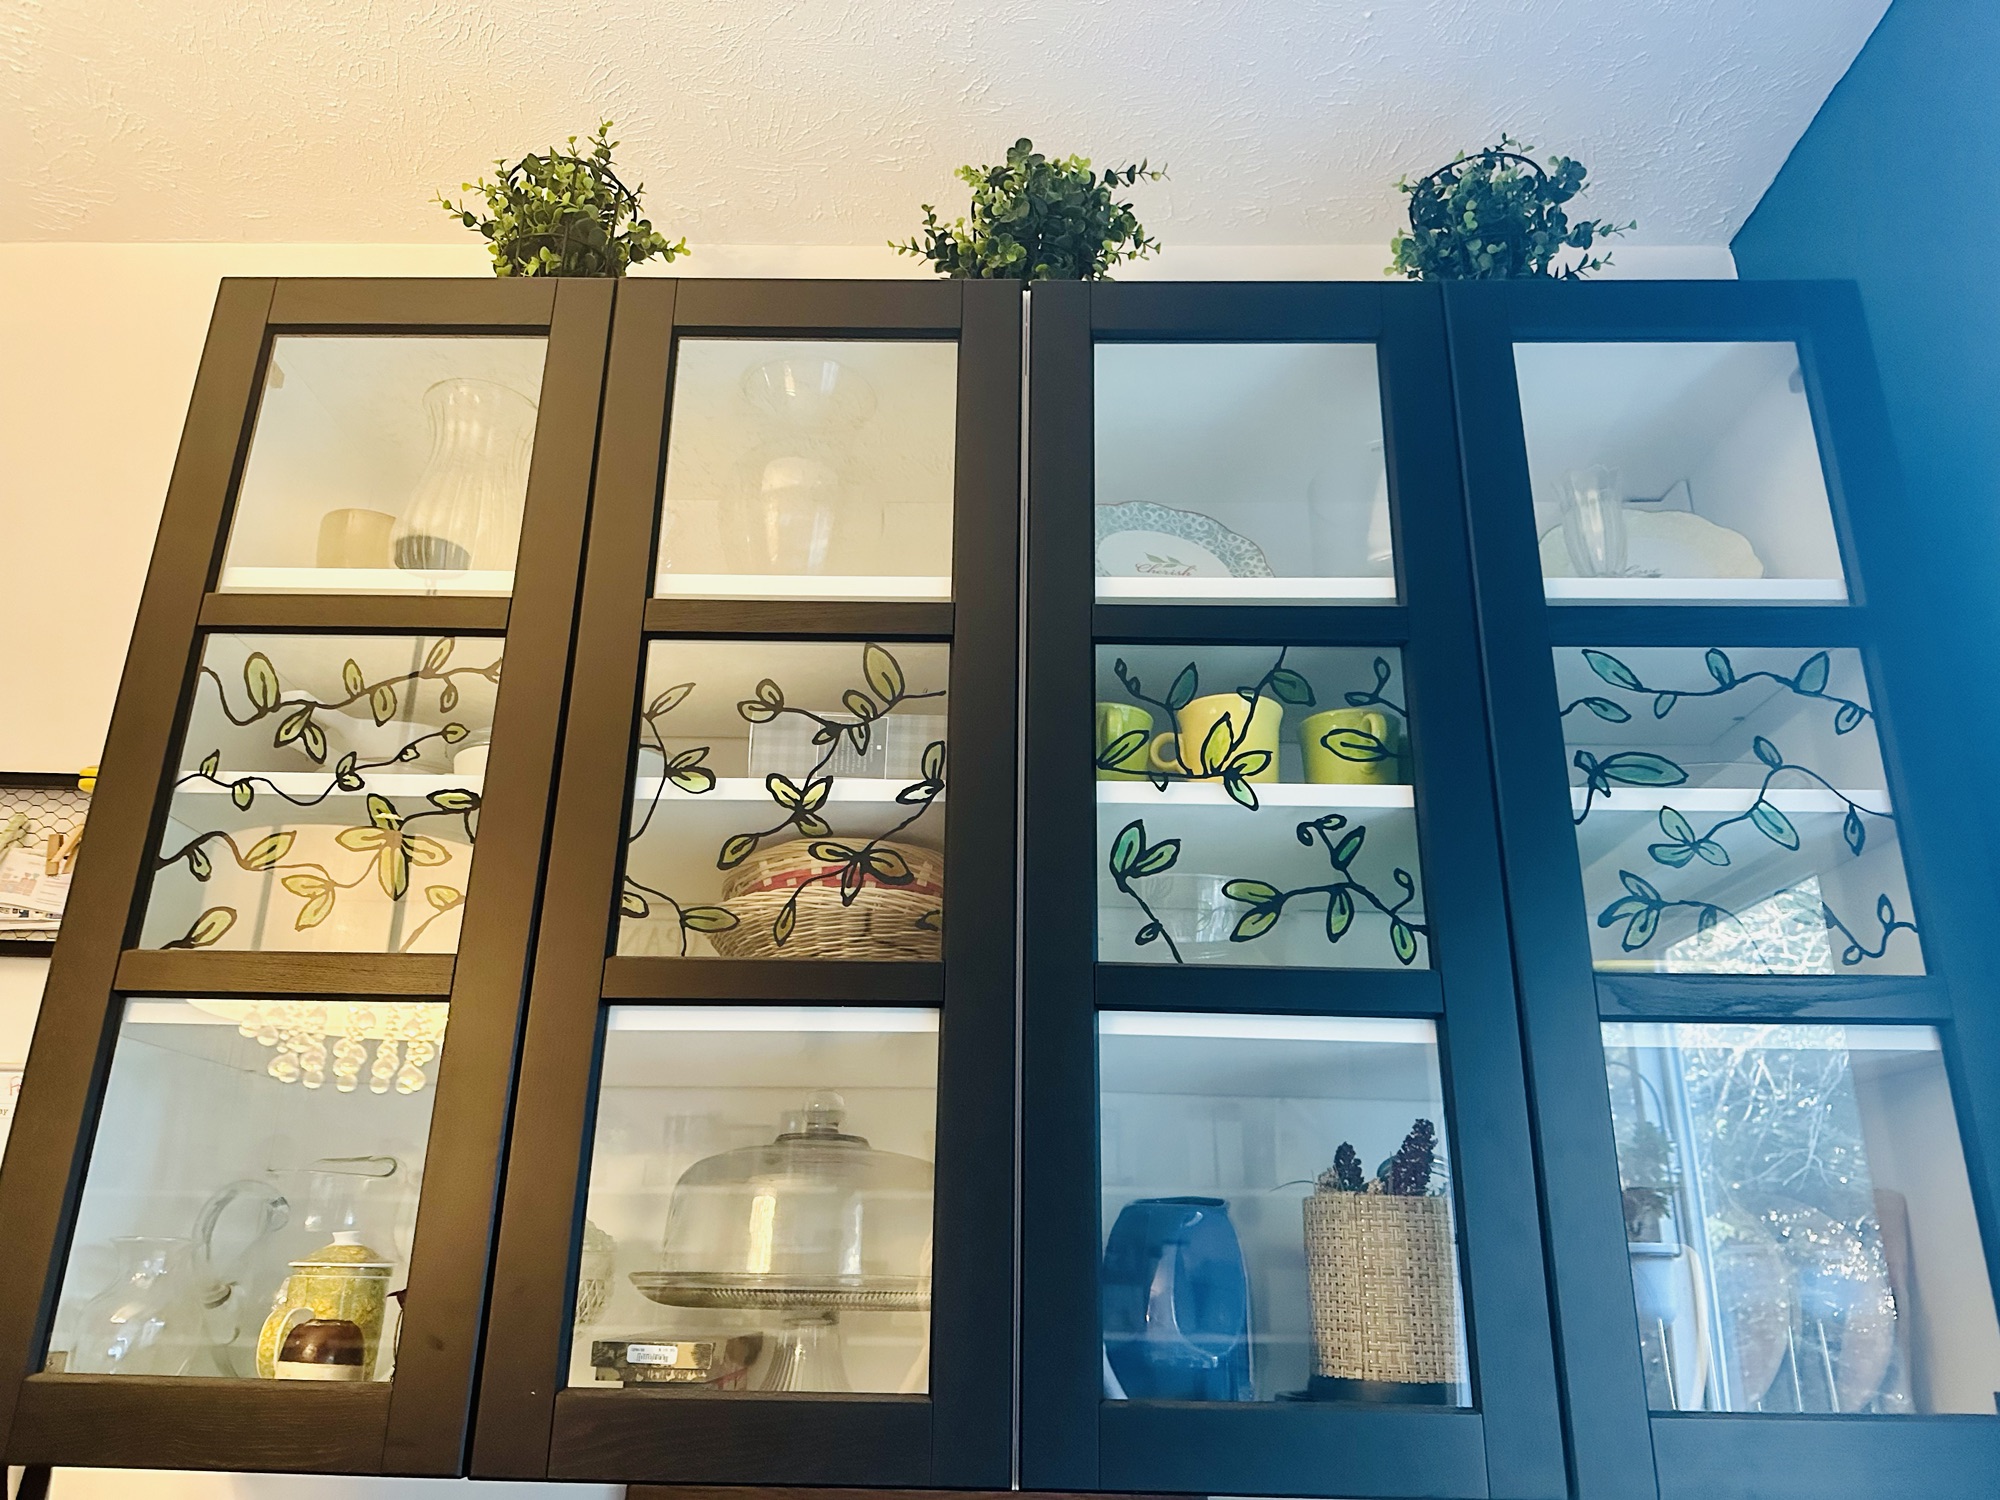
Once this was all dry, that was it! The cabinet doors look much nicer now without the plastic crinkles, and the look is now much more permanent, like it was always part of the doors.

There are SO many different designs you could paint, so let me know if you come up with other great ideas!
DIY Must-Have Lists


