This was the last project for my 6-year-old’s room makeover! She wanted a “kelp forest” ceiling, but after creating a cave over a good chunk of her ceiling, we compromised by deciding to paint her fan blades so that they looked seaweed-y.
Painting fan blades was something I’d never tried before, and it was super easy! This might not be a new idea to anyone, but I can now personally recommend that you give it a go if you’re interested!

Supplies:
(As an advertising affiliate and Amazon Associate, I earn a small commission from qualifying purchases. But it doesn’t cost you anything extra and helps me keep up my site!)
- Screwdriver
- Paints
Step 1: Detach fan blades. I suppose I could have painted the blades while they still hung from the fan in the ceiling, but I didn’t want to risk dripping paint. Also, it seemed like my arm would get tired. Plus, by taking them down, I was able to clean them. 😜 I was also glad I’d detached them because, in the end, this meant that the painted portions went under the metal decorative parts where the blades attach to the fan, and that looked pretty cool.
My fan blades were held on by 3 screws each, so I used a screwdriver and simply unscrewed one blade at a some, carefully setting aside the washers and screws to reattach the blades later.

Step 2: Clean the blades. Mine were not real wood, and they wiped down pretty easily with a lightly damp cloth. After removing a considerable amount of dust from the top side of the fan blades, I made sure to use a clean paper towel to wipe and dry off the bottom side, which was the side I’d be painting.

Optional Step: My fan blades were in pretty good shape – and a nice white color – but you might want to apply a base coat of paint over each blade if they look rough. I considered painting them blue (which would make sense with our “under the sea” theme), but I did not obtain permission for that. You could start with whatever base color you choose, especially if your blades are wood and you really want to change the look.
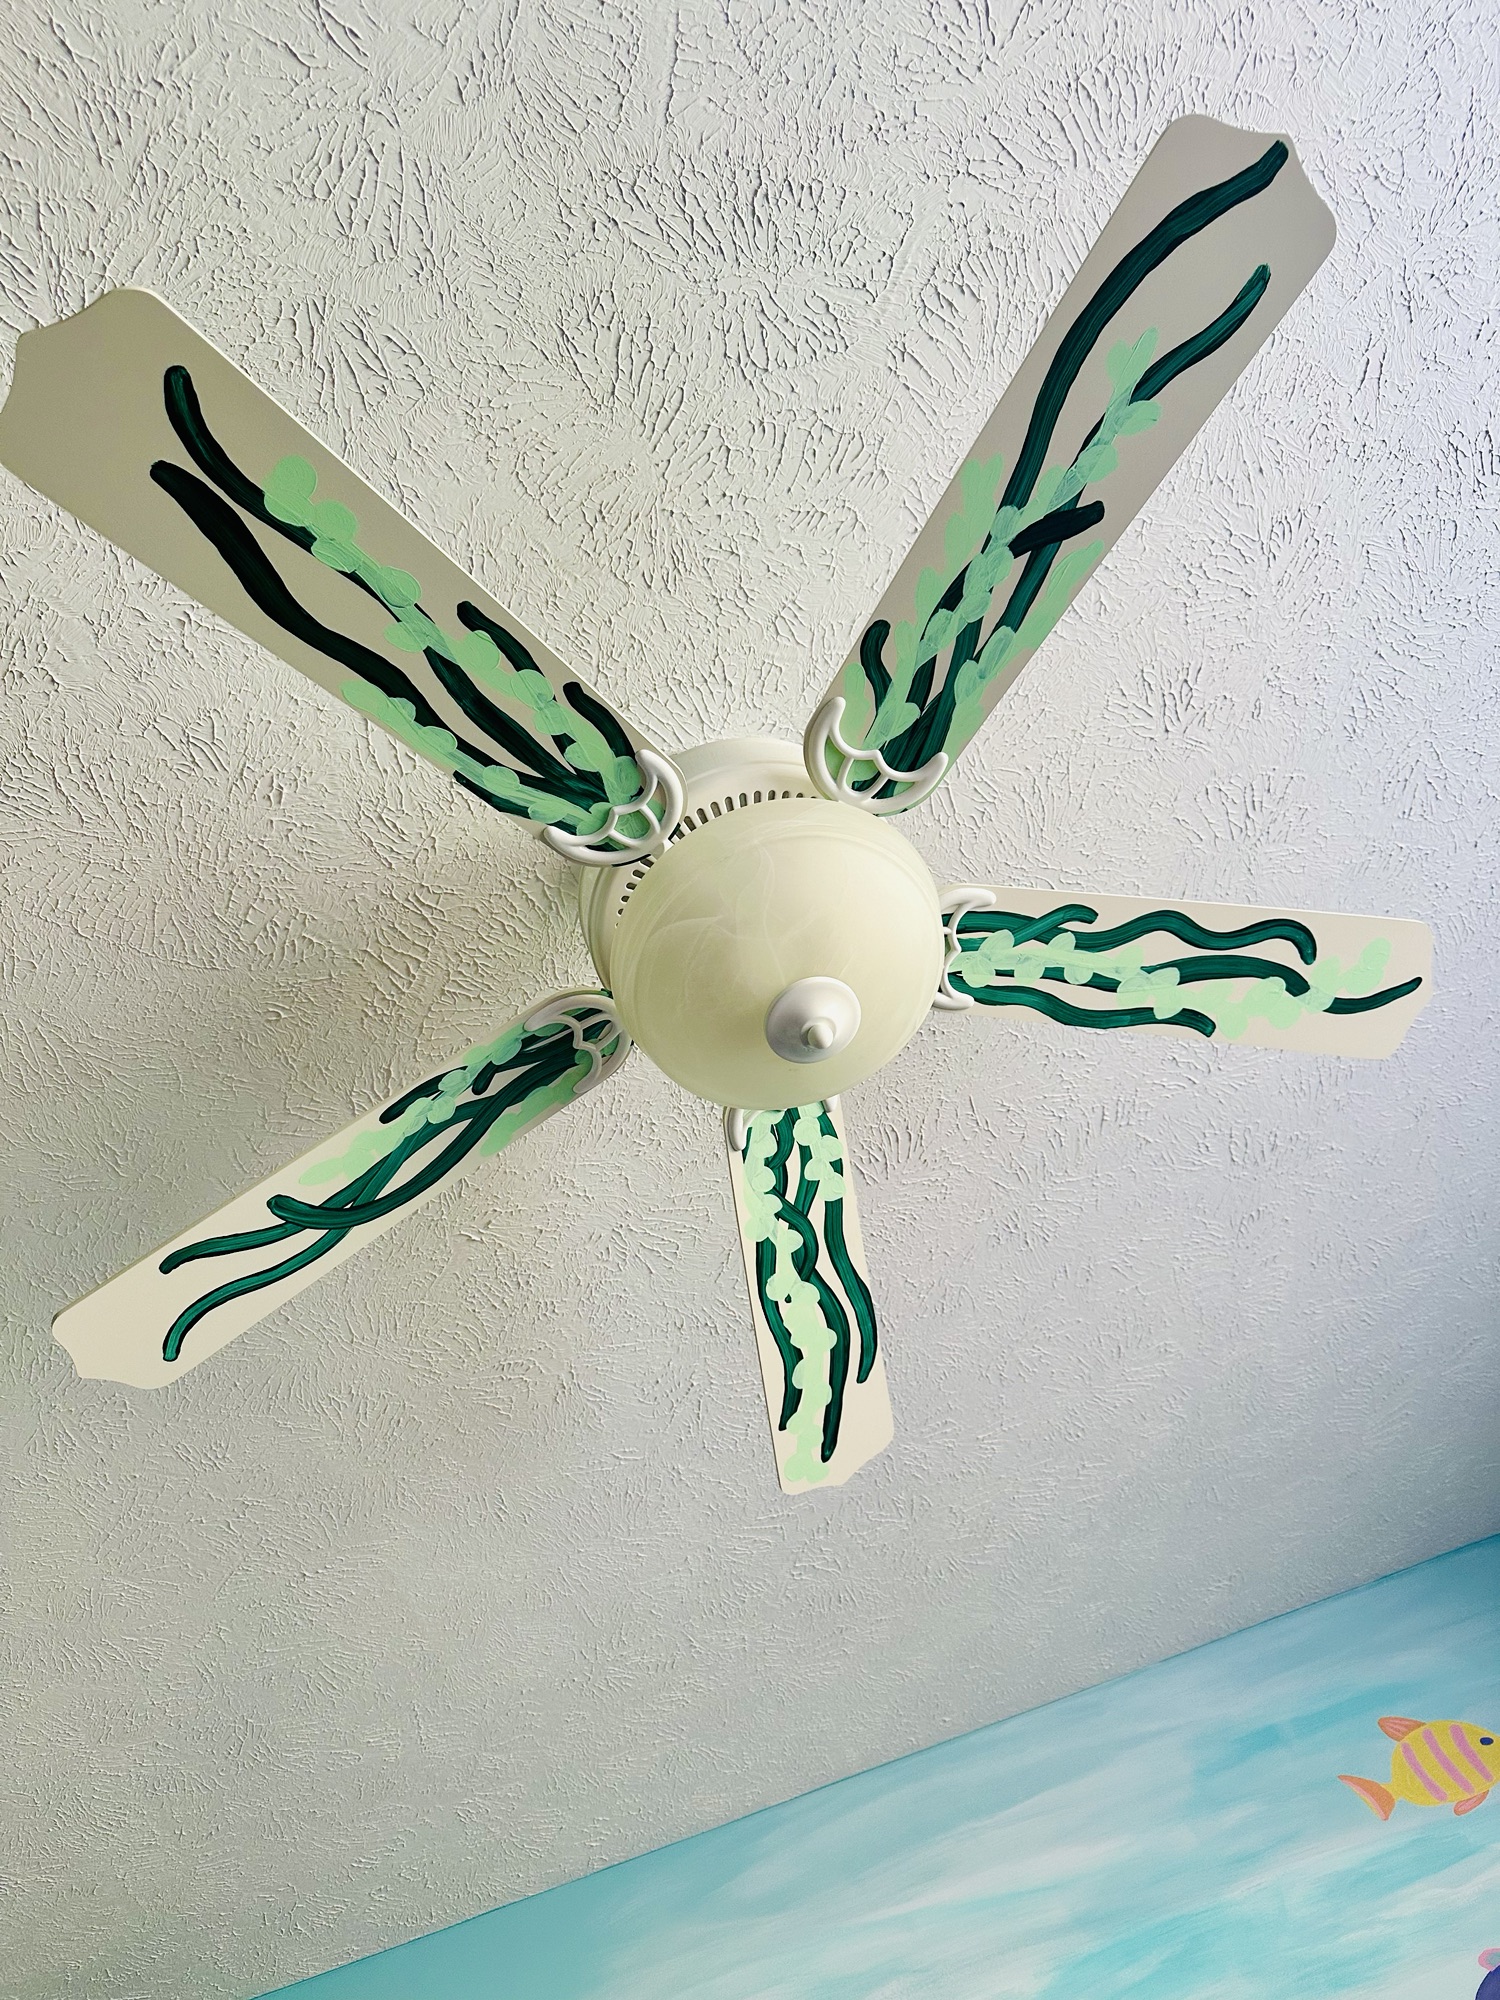
Step 3: Paint the design. I took 2 different green colors – one dark and one light – to make my seaweed/kelp/plants. My dark green was a latex paint, and my light green was acrylic. Both adhered just fine. I started with my dark green and made long, weedy, wavy lines. Once that dried, I took my lighter green and painted more leafy-looking plants. I didn’t want to overdo it, so I stopped there…


You could do really pretty flower designs, abstract shapes, stripes, or really anything! I have a feeling I will end up painting my other daughter’s fan too, so let me know if you come up with any great ideas!
Step 4: Reattach the fan blades. Once the paint was dry, I took the blades one at a time and lined up the holes to screw the washers and screws back in place. I did find it was easiest to start with the screw nearest where I was standing between the blades, secure that one first, and then have everything stable to screw in the screw closest to the actual fan.

That was it!
This was incredibly easy, and the painting possibilities are endless!

DIY Must-Have Lists


